It’s another breathtakingly beautiful autumn morning, and I’m currently celebrating by writing this post on my front porch, coffee in hand. The forecast is projecting another heat wave this weekend, and I’m determined to enjoy every possible moment of this delightful chilliness! Thanks to the crisp fall air, I want to bake ALL the fall things (one of the top items on my Ultimate Autumn Bucket List!), so I figured I should start with the most essential element: how to cook a pumpkin.
Recently, I tried some baked goods made with fresh pumpkin puree. Lemme just say–pure, unadulterated DELICIOUSNESS. Now, don’t get me wrong, the canned stuff makes some tasty treats, and it’s wonderfully convenient. Nothing compares with the real thing when it comes to flavor, however, so it’s well worth the extra effort! It freezes well, too, so cook up a bunch at once and stockpile for the winter.
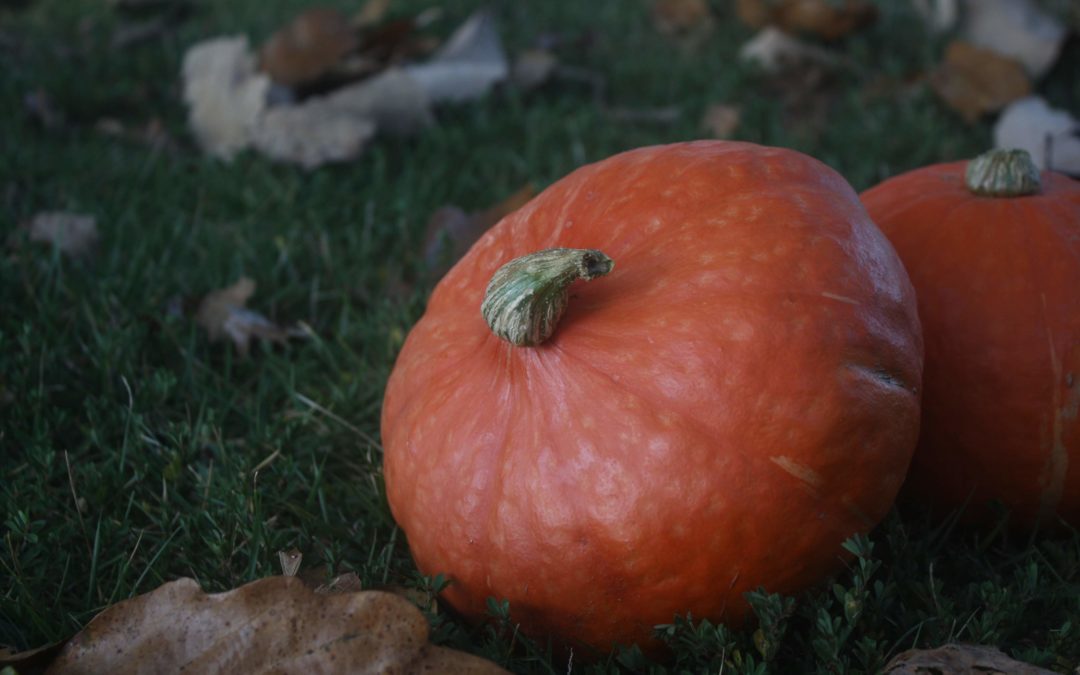
Before we learn how to actually cook a pumpkin, we need talk about one little thing. What KIND of pumpkins work best for baking?
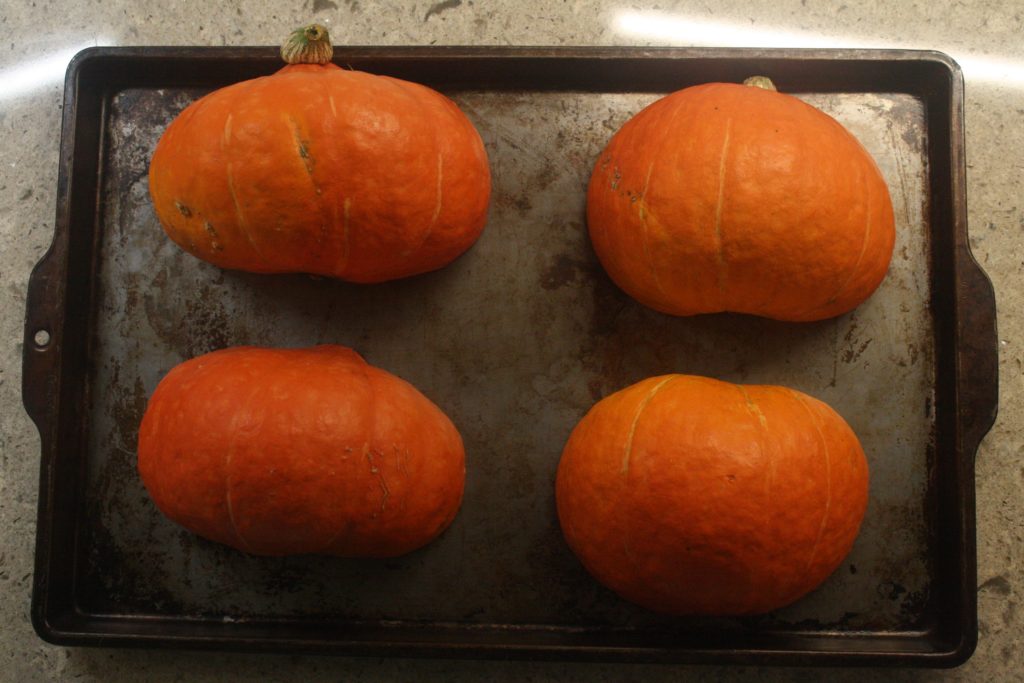
This method of cooking and pureeing works for pretty much any pumpkin/gourd/winter squash out there, but some pumpkins don’t have the best flavor or texture. In fact, the pretty little pumpkin we all like to decorate with–you know, the one that pops into your head as soon as you hear “pumpkin”–that’s not actually what you want to use in your baked goods. It’s edible, yes, but it tends to be more stringy and watery and less flavorful. There are countless other varieties that are great for baking, from Cinderella to Baby Pam to Kabochas. When in doubt, do a quick search for anything that falls under the “sugar pumpkin” or “pie pumpkin” category, and you won’t go wrong! For this post, I used Kabochas.
Alright, without further ado, let’s learn how to cook a pumpkin! 🙂

Once you’ve picked your pumpkin, it needs a good rinse-down to get off any remaining dirt or grime. After rinsing, use a sharp knife to cut the pumpkin in half, from top to bottom. Be careful, the skin is pretty tough and difficult to cut!

After you cut the pumpkin in half, scoop out the seeds and stringy part of the flesh. Save this for roasting your own pumpkin seeds, or discard it.
Next, place your pumpkin on an un-greased baking sheet, cut side down. Bake at 375 degrees for approximately an hour (depending on the size, it may need more or less time in the oven). The pumpkin is done when a fork pierces through the skin easily.
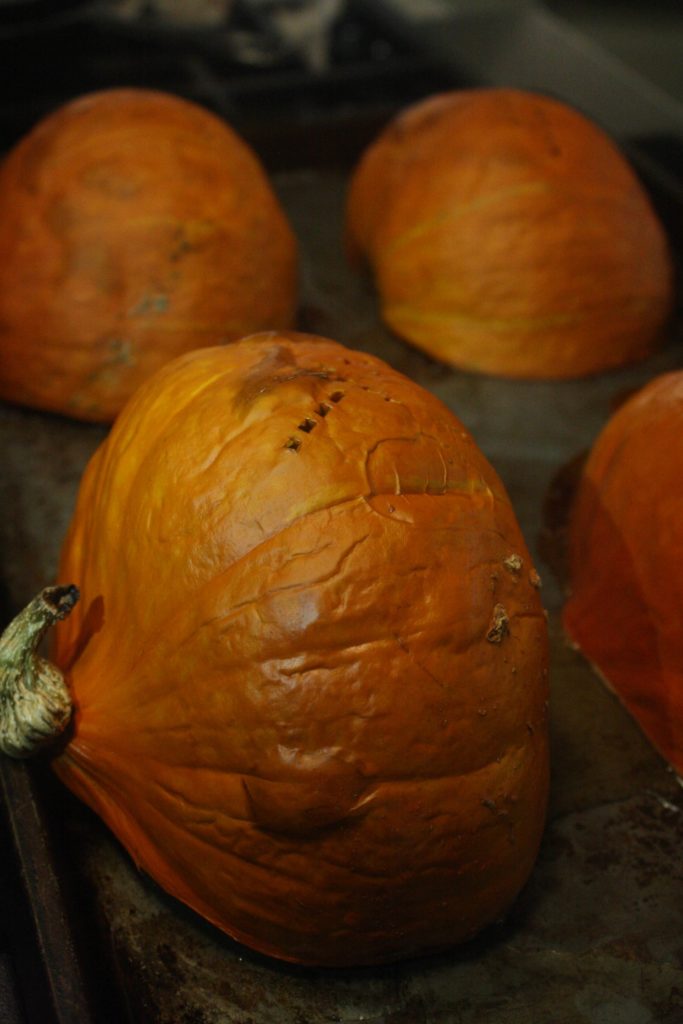
Let it cool for 10 minutes, then peel the skin away. If you do this while the pumpkin is still pretty hot, the skin will peel off quite nicely. It’s easy to burn yourself, though, so be careful! I like to remove the skin like this because I find it leaves behind the most flesh, but if you prefer, you can scoop the flesh out with a spoon instead.
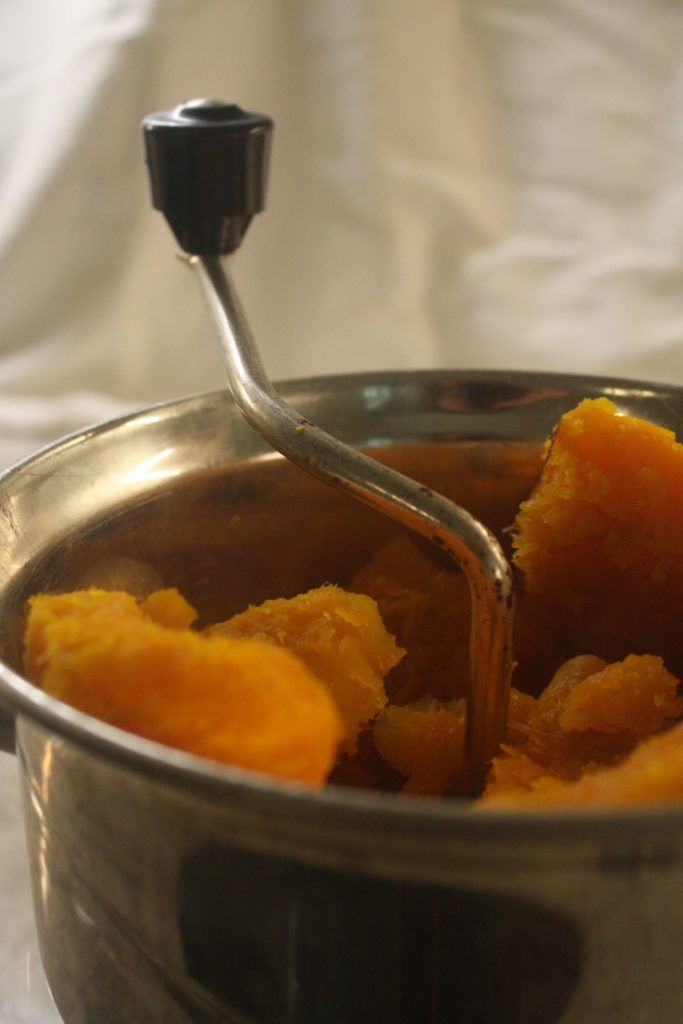
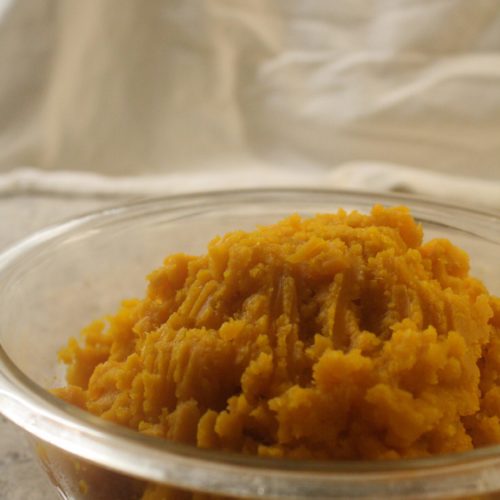
After you’ve removed the flesh from the skin, it’s time to puree it! I use a food mill for this, but a food processor or immersion blender also works. Depending on the type of pumpkin you use, it may need straining after the pureeing process. Kabochas don’t have a high liquid content, so they usually don’t need straining. If your puree seems overly watery, place it in a strainer and let it drain off for a couple hours, or even overnight.
Store your pumpkin puree in the fridge for up to a few days, or preserve it in the freezer.

That’s it! You’re ready to bake ALL the pumpkin things. 🙂 What’s your favorite pumpkin dessert?
Pumpkin Puree
Ingredients
- 1 Pumpkin
Instructions
- Preheat oven to 375 degrees F.
- Rinse your pumpkin thoroughly, then dry and cut from top to bottom. Use a spoon to scoop out the seeds. Set aside to roast your own pumpkin seeds, or discard.
- Place your pumpkin on an un-greased baking sheet, cut side down. Cook in preheated oven for approximately one hour (more or less depending on the size of your pumpkin). The pumpkin is done when the skin can be easily pierced with a fork.
- Let cool for 10 minutes, then peel the skin off. Be careful, the pumpkin will still be very hot! If it's too hot to handle, you can scoop the flesh out with a spoon.
- Puree the flesh with a food mill, food processor, or immersion blender. Depending on how watery your pumpkin is, you may need to strain it after pureeing. If your puree is overly watery, place it in a strainer and let it drain for several hours.
- Store puree in the fridge for a few days, or preserve it in freezer-safe bags in the freezer. Enjoy!